AI image tools can produce a striking concept in seconds. They do not automatically produce a file that a commercial printer, screen printer, sign shop, engraver, or packaging supplier can manufacture correctly. A beautiful image on a screen can still contain too few pixels, malformed letters, fragile edges, the wrong color setup, or no bleed.
What does “print-ready” actually mean?
Print-ready artwork is built for a specific product, final size, material, and production process. It has enough real detail, correct dimensions, intentional color, clean edges, usable typography, and the bleed or cut paths the supplier requests. There is no single export setting that makes every AI image print-ready.
The right first question is not “Which format should I save?” It is “How will this artwork be produced?” A fine-art poster and a laser-engraved plaque need very different files.
Step 1: Decide whether to upscale, vectorize, or redraw
Most preparation mistakes begin when the wrong workflow is chosen. Use the visual character of the artwork and its production method to decide what comes next.
Upscale the raster
Best for photographic, painterly, textured, or highly detailed imagery that will be printed as pixels.
Vectorize simple art
Suitable for clean shapes, bold lettering, icons, and simple flat-color art when the trace remains accurate.
Redraw by hand
Best for logos, small text, precise geometry, spot colors, engraving, cutting, or artwork where every detail must be controlled.
Do not vectorize a complex painting simply because a printer asked for a “high quality file.” Vector conversion is valuable when the artwork should be made from clean paths and shapes. It is not a universal improvement for photographs and textured scenes.
For simple artwork, you can test the VectorGurus AI vectorizer. For production-critical logos or lettering, compare the trace at high zoom or use a professional AI-art-to-vector redraw.
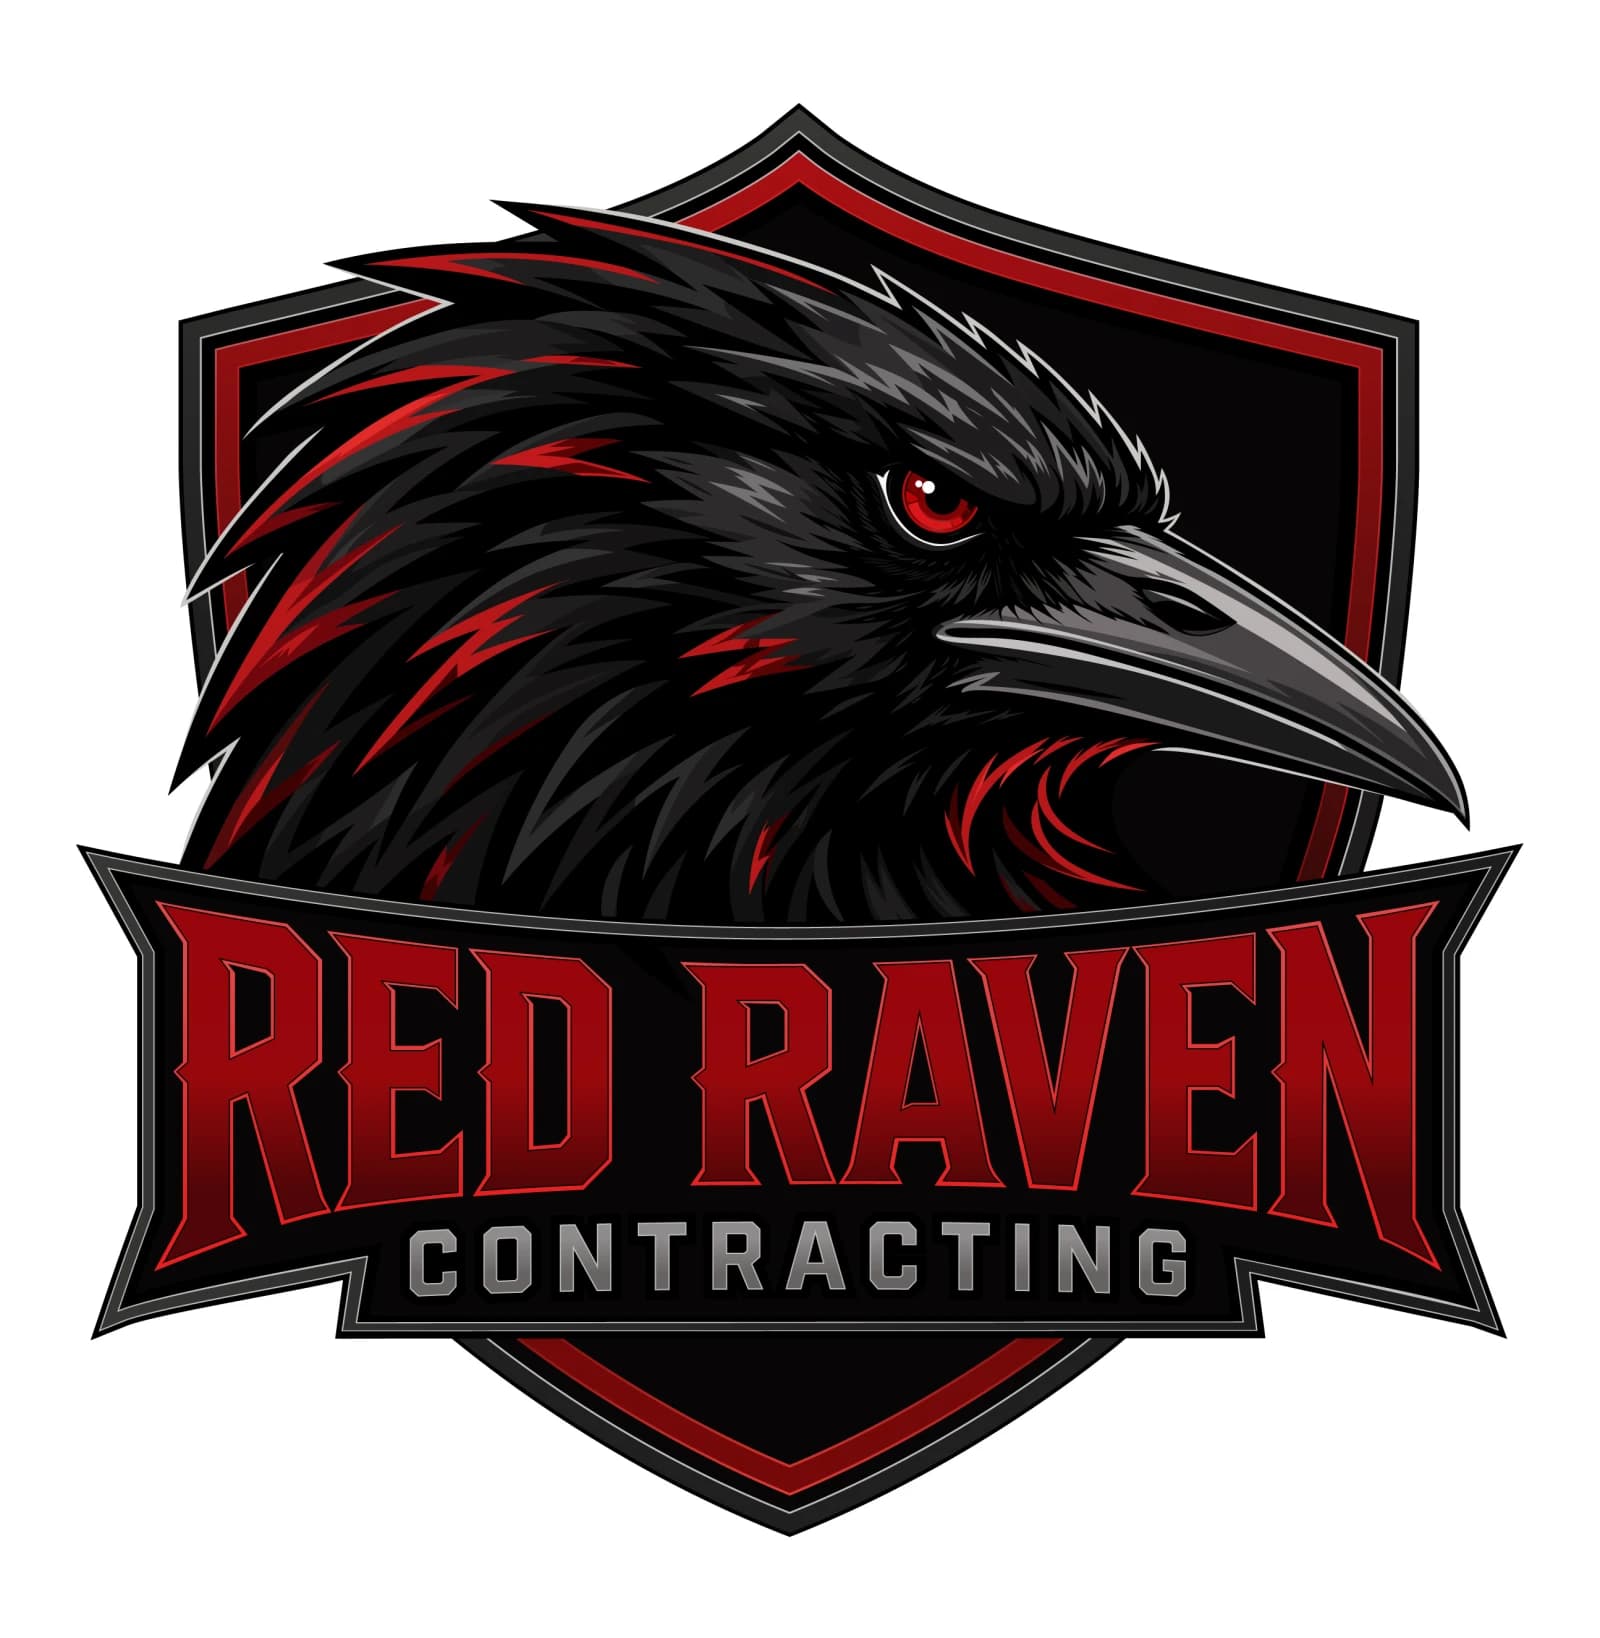
Real project: Red Raven Contracting
A finished-looking AI logo was still only a raster image
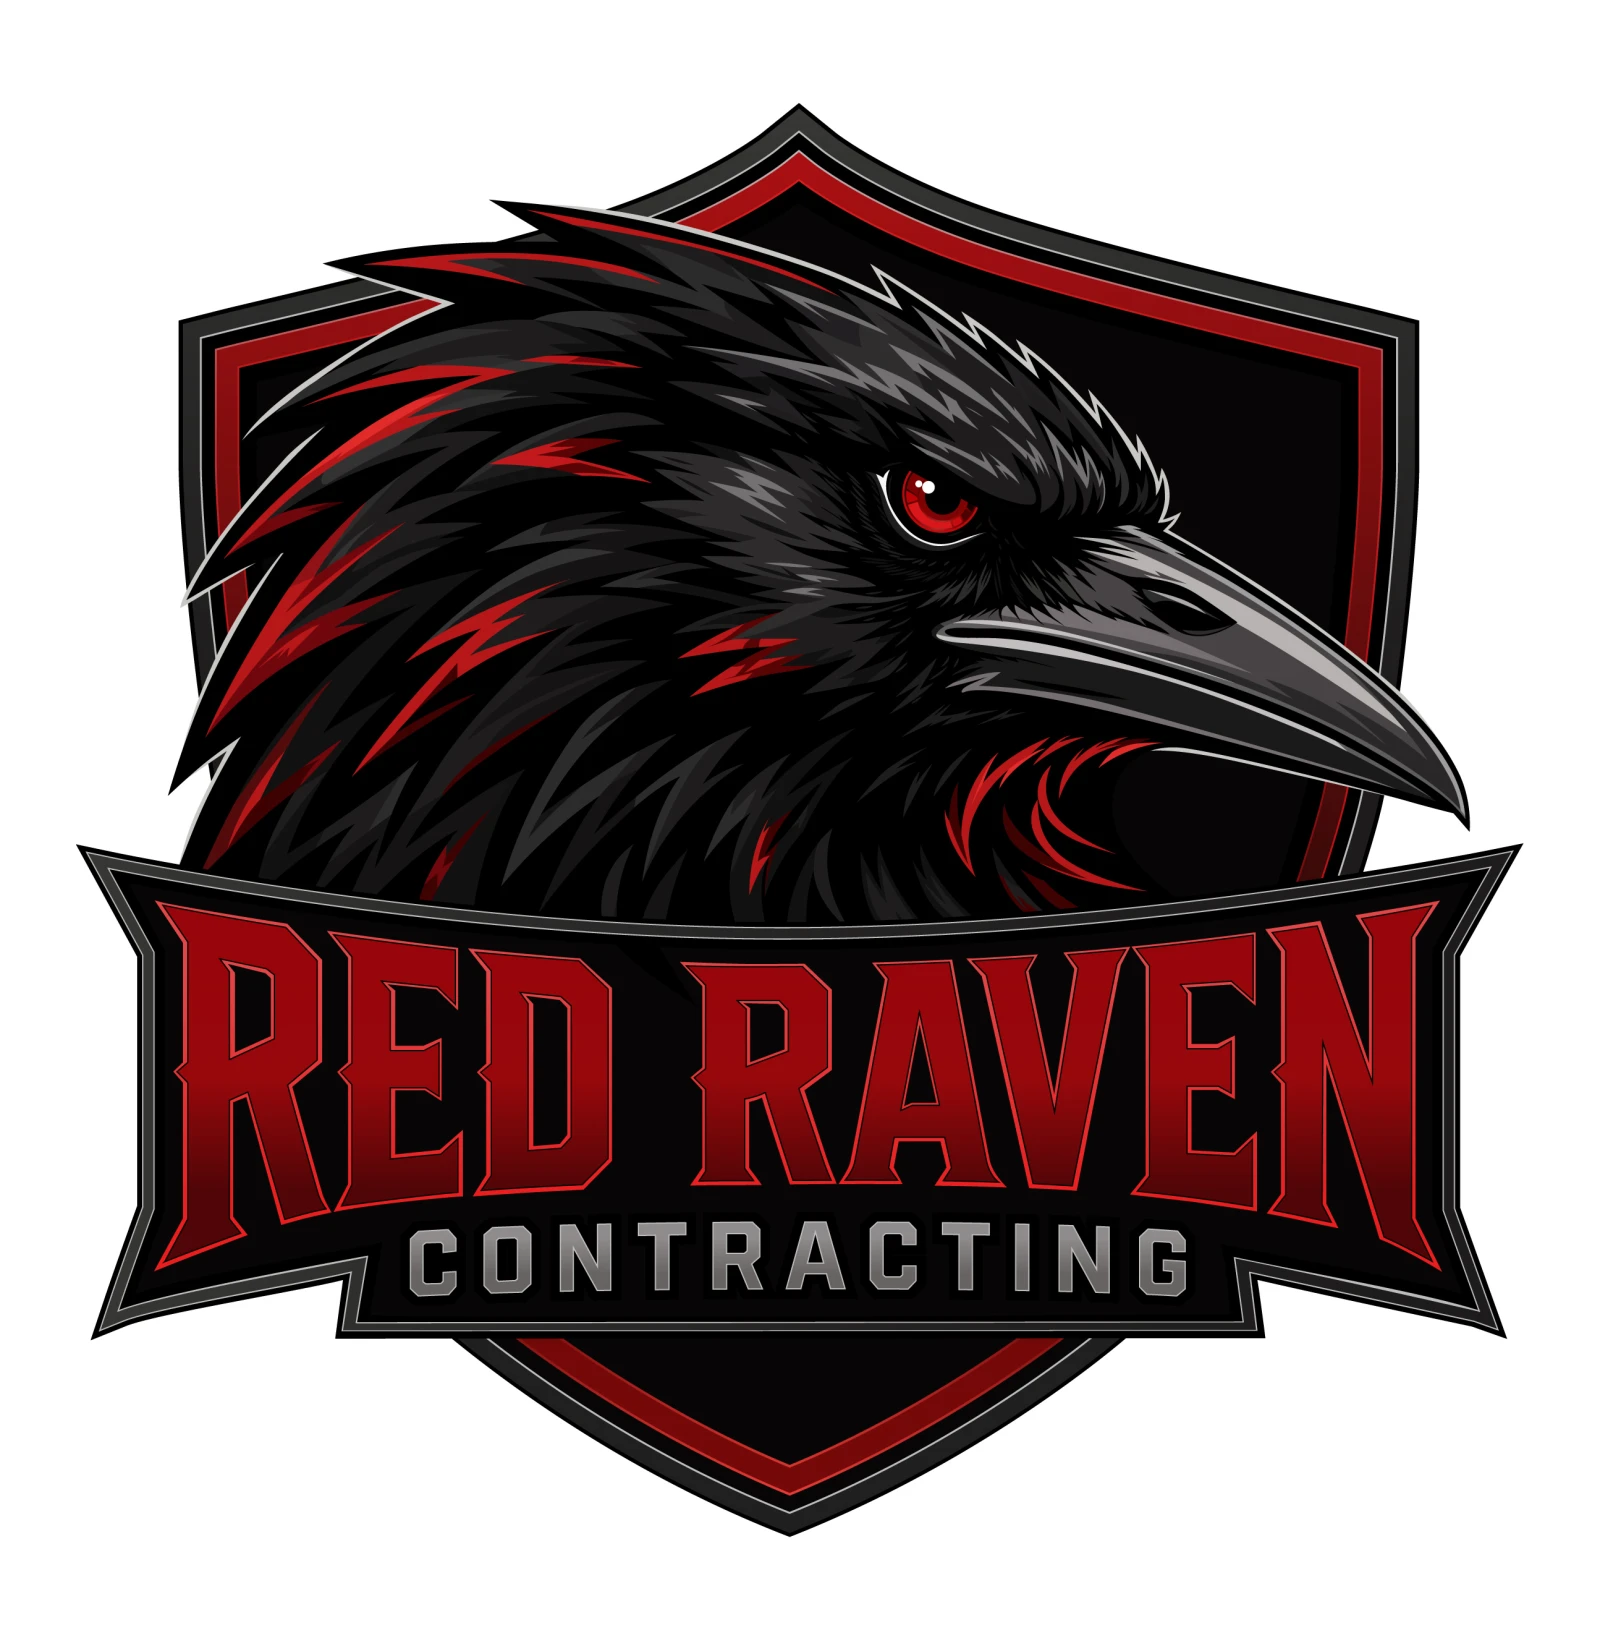
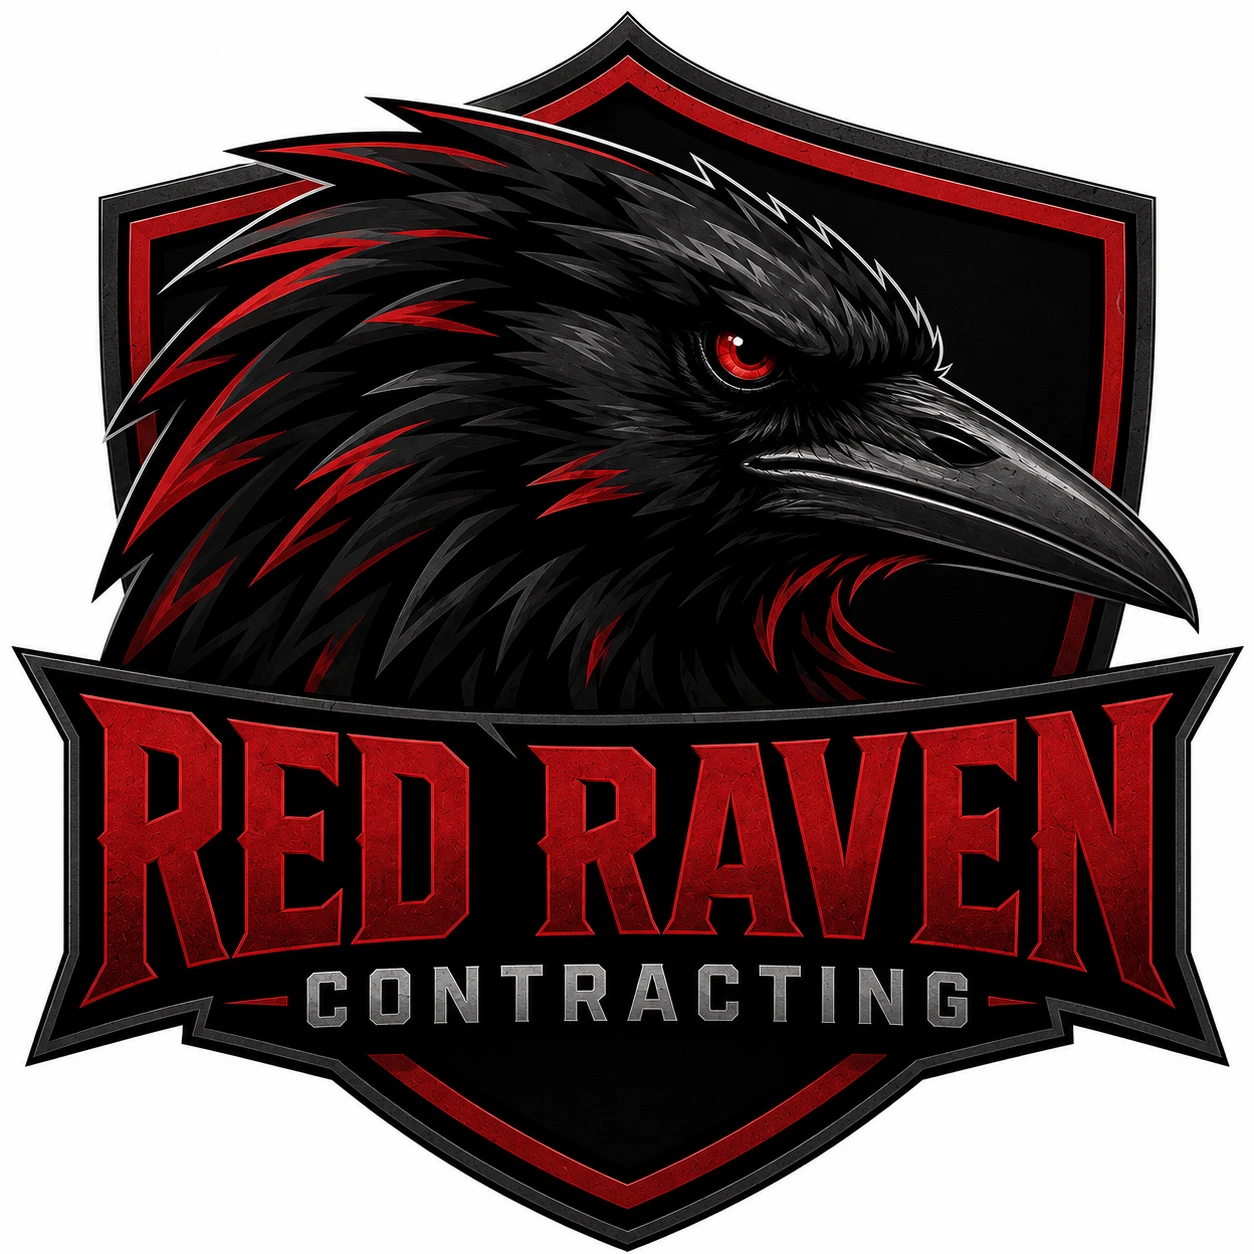
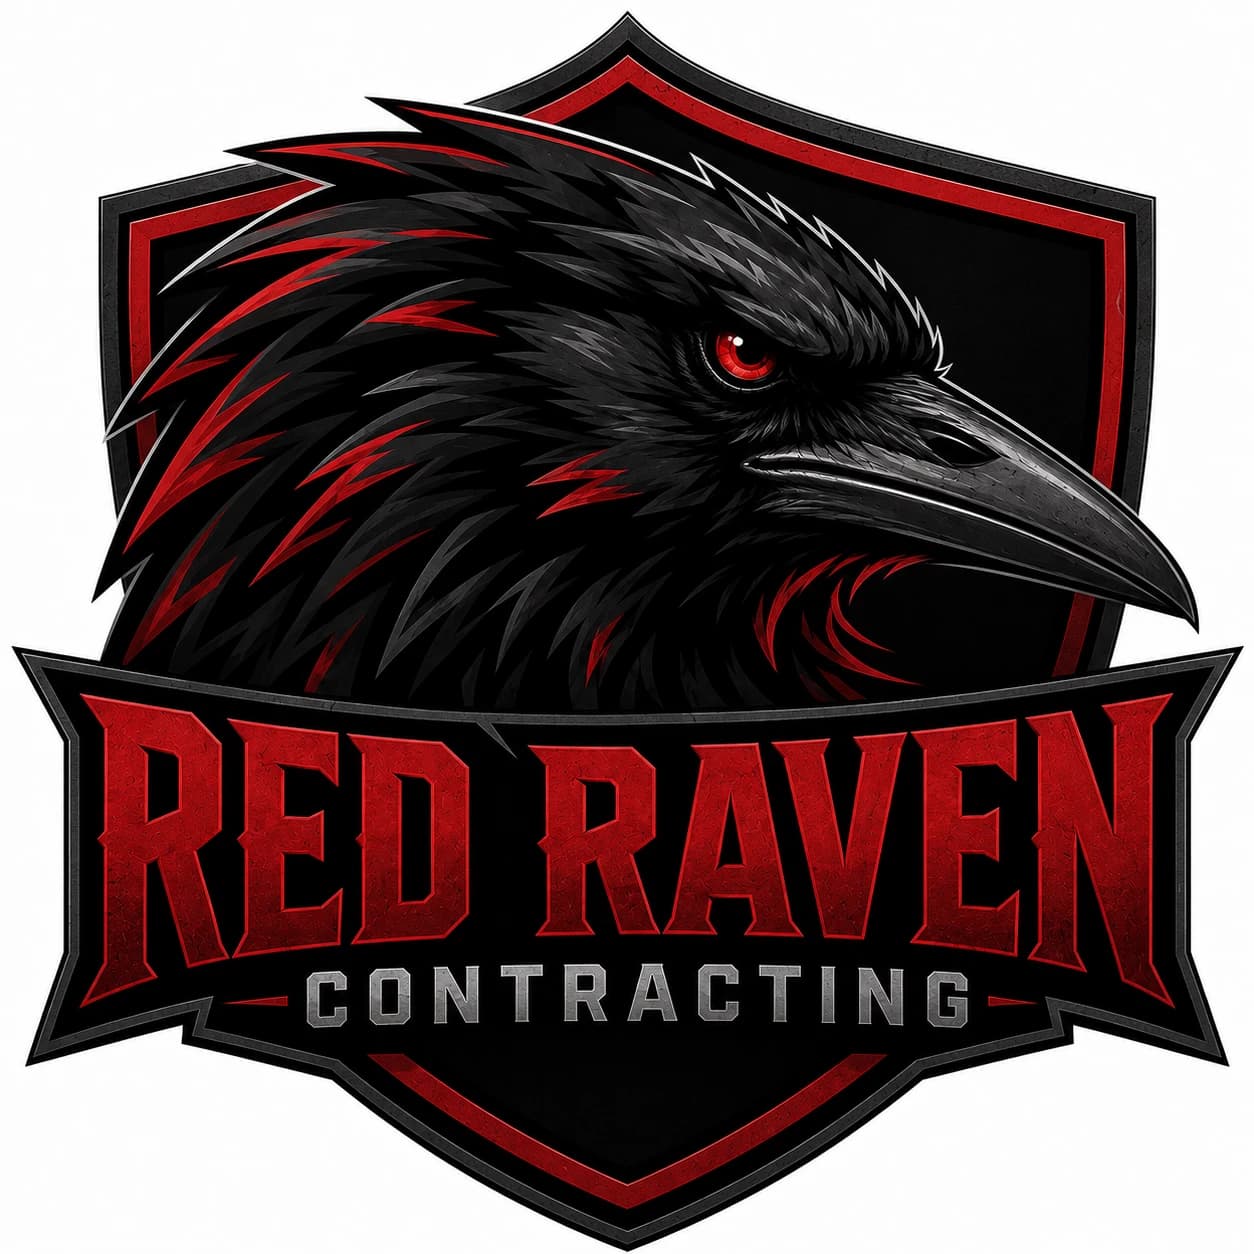
The original Red Raven concept arrived as a 1,254 × 1,254-pixel ChatGPT PNG. It looked detailed and polished on screen, but the feather textures, lettering, outlines, and highlights were all pixels. Enlarging the file would enlarge those pixels, while an automatic trace would create thousands of noisy shapes. The production version was rebuilt with controlled vector paths, cleaner color regions, and lettering that can be reproduced consistently.
Step 2: Check pixel dimensions at the final print size
Raster quality is determined by real pixel dimensions, not by a DPI label in the file. The useful calculation is:
required pixels = print size in inches × target PPI
| Final print size | Pixels at 300 PPI | Typical use |
|---|---|---|
| 4 × 6 in | 1,200 × 1,800 px | Small photo or card |
| 8 × 10 in | 2,400 × 3,000 px | Art print |
| 12 × 18 in | 3,600 × 5,400 px | Poster |
| 24 × 36 in | 7,200 × 10,800 px | Close-viewed large print |
Changing the DPI metadata is not upscaling
Relabeling a 1,024-pixel image as “300 DPI” does not add detail. Upscaling creates more pixels, but it can also invent texture, soften edges, or alter faces and lettering. Inspect the result at 100% before approving it.
Large-format requirements vary with viewing distance and output equipment. Even Midjourney's official image resolution guidance notes that print size depends on pixel dimensions. Ask the printer for the effective PPI they need at final size.
Step 3: Repair AI artifacts before layout
Upscaling makes defects larger too. Review the source and the enlarged file at high zoom before adding bleed or preparing final exports.
Inspect these areas closely
Treat generated text as a visual placeholder unless it is already correct. Retype important wording with a licensed font, then keep an editable master and create an outlined copy for production. For logos, recreation produces cleaner curves and more reliable letters than repeatedly prompting the image model.
Step 4: Prepare color for the actual printer
AI artwork is usually created for a screen. Printed color depends on inks, media, profiles, RIP settings, and the production method, so vivid RGB color may reproduce differently on paper, fabric, vinyl, or metal.
Ask for the printer's specification first
Request the preferred color space, ICC profile, total ink limit, black settings, and proofing process. Many offset workflows expect CMYK, while some photo, inkjet, DTG, and print-on-demand systems prefer sRGB.
Use spot colors when production requires them
Screen printing, labels, packaging, and branded merchandise may use named spot colors. Select those colors intentionally rather than sampling an arbitrary pixel from the AI image.
Approve a physical proof when color matters
A calibrated monitor helps, but it cannot show exactly how ink and material will behave. A hard proof or production sample is the most reliable check for critical brand color and large print runs.
Step 5: Add bleed, trim, safe area, and cut paths
Artwork that reaches the finished edge must extend beyond the trim line. This extra image area is the bleed. Keep important faces, wording, logos, and borders inside the safe area so normal finishing tolerances do not cut them off.
Bleed
Artwork extending beyond the trim. Use the supplier's exact measurement.
Trim
The intended finished edge of the printed piece.
Safe area
The protected zone for essential content inside the trim.
Do not assume every job uses the common 0.125-inch bleed. Packaging, banners, contour-cut stickers, wraps, and fabric products may need different allowances. For custom shapes, place the cut contour on a clearly named spot-color layer and follow the vendor's naming and stroke instructions.
Match the file to the production method
“Professional printing” covers very different machines. Use this as a starting point, then confirm the supplier's own template and specifications.
| Process | Usually preferred | Critical checks |
|---|---|---|
| Posters and fine-art prints | High-resolution raster or PDF | Effective PPI, profile, crop, proof, bleed |
| DTG and DTF apparel | High-resolution transparent PNG or vendor format | Exact dimensions, clean alpha edges, fabric color |
| Screen printing | Vector paths or production-ready separations | Spot colors, minimum strokes, separations, halftones |
| Signs and vehicle wraps | Vector logos/type plus adequate full-size raster | Scale, viewing distance, panels, bleed, safe zones |
| Laser, vinyl, CNC, engraving | Clean vector linework | Closed paths, minimum detail, no raster effects, tool limits |
| Labels and packaging | Print-ready PDF or native vector | Dieline, bleed, safe area, overprint, barcodes, profiles |
If the artwork will be screen printed, see our guide to vector files for screen printing. For cutting and engraving, review the CNC and laser-cutting requirements.
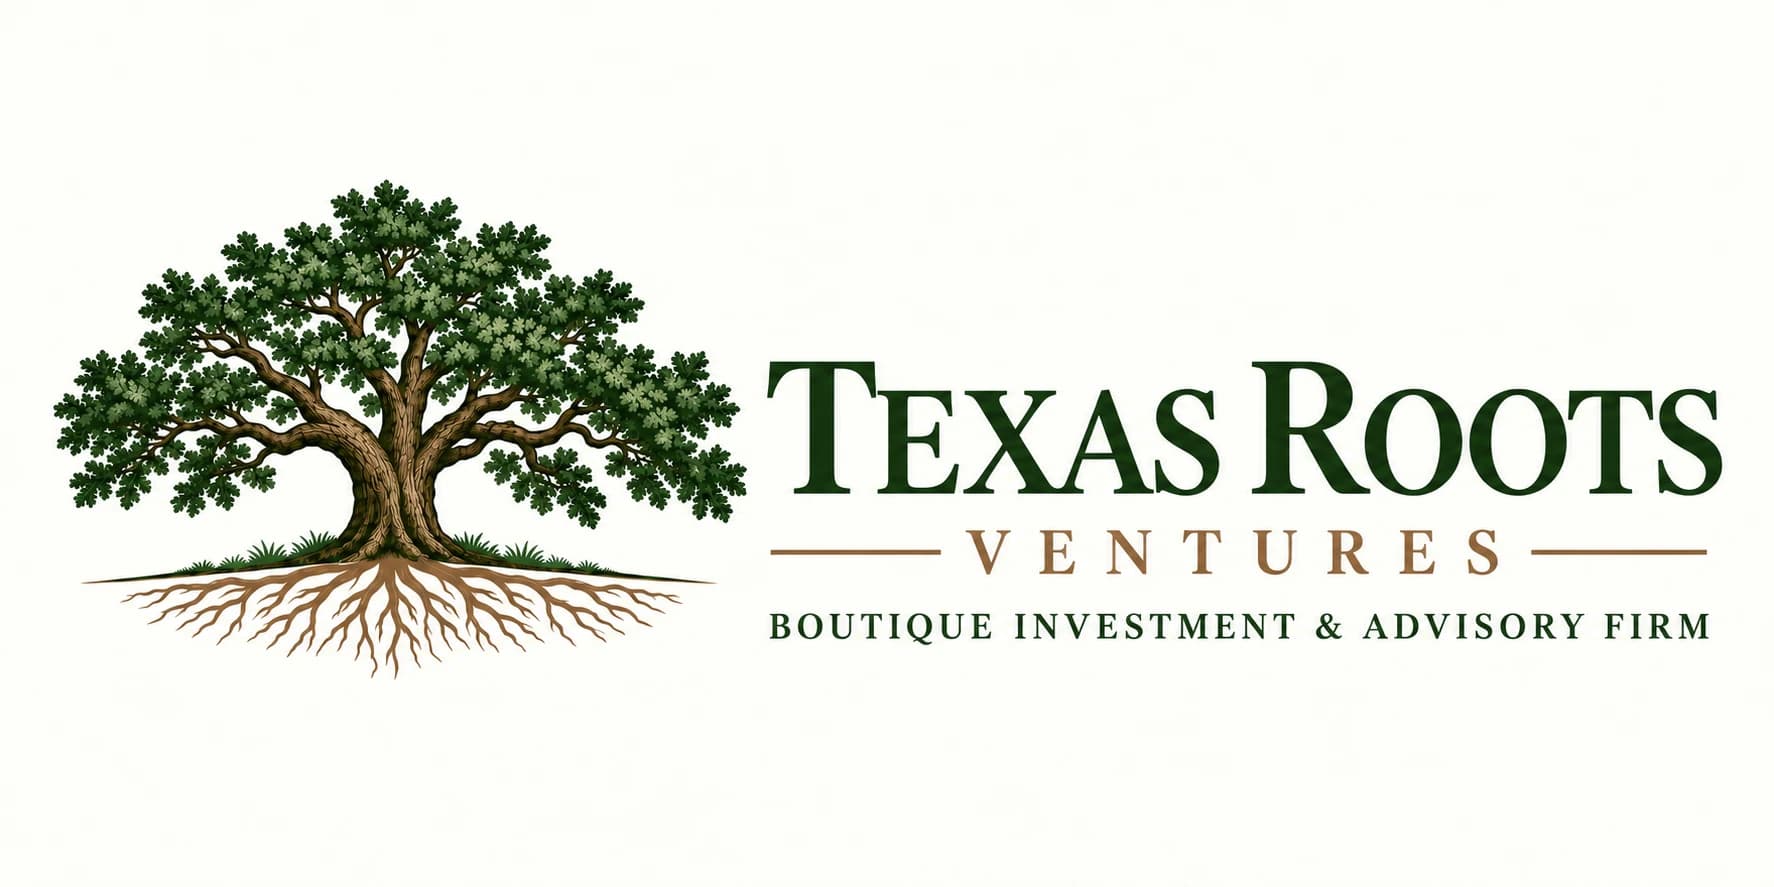
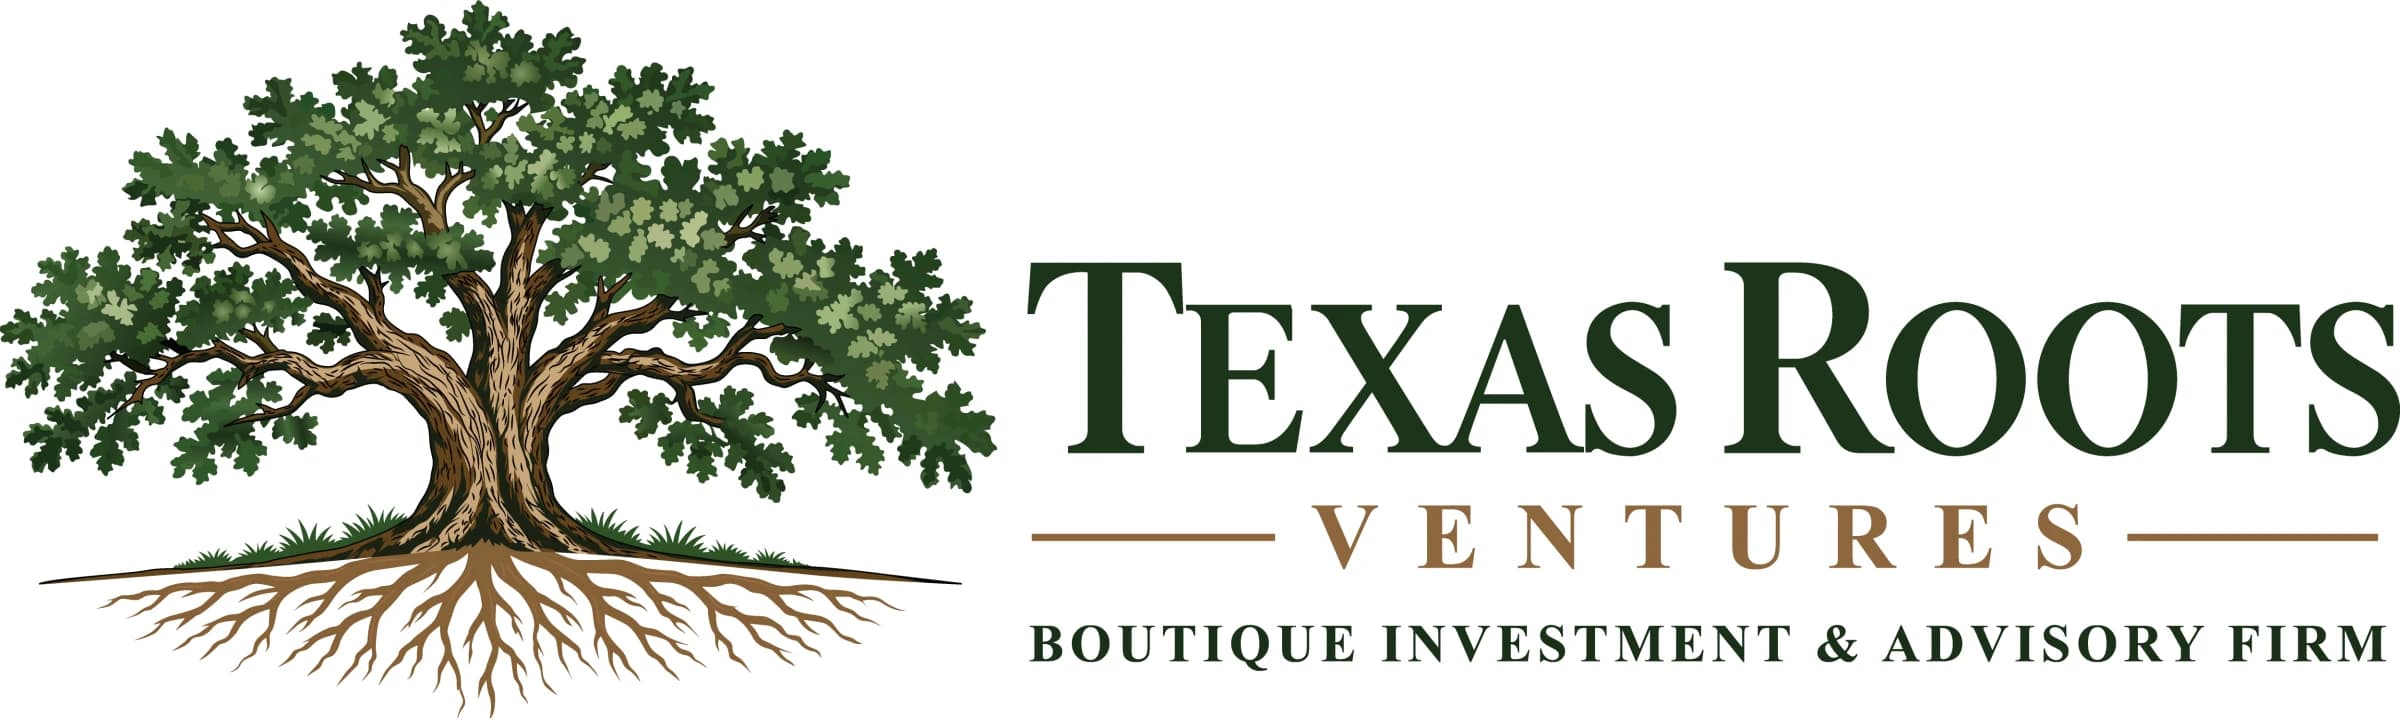
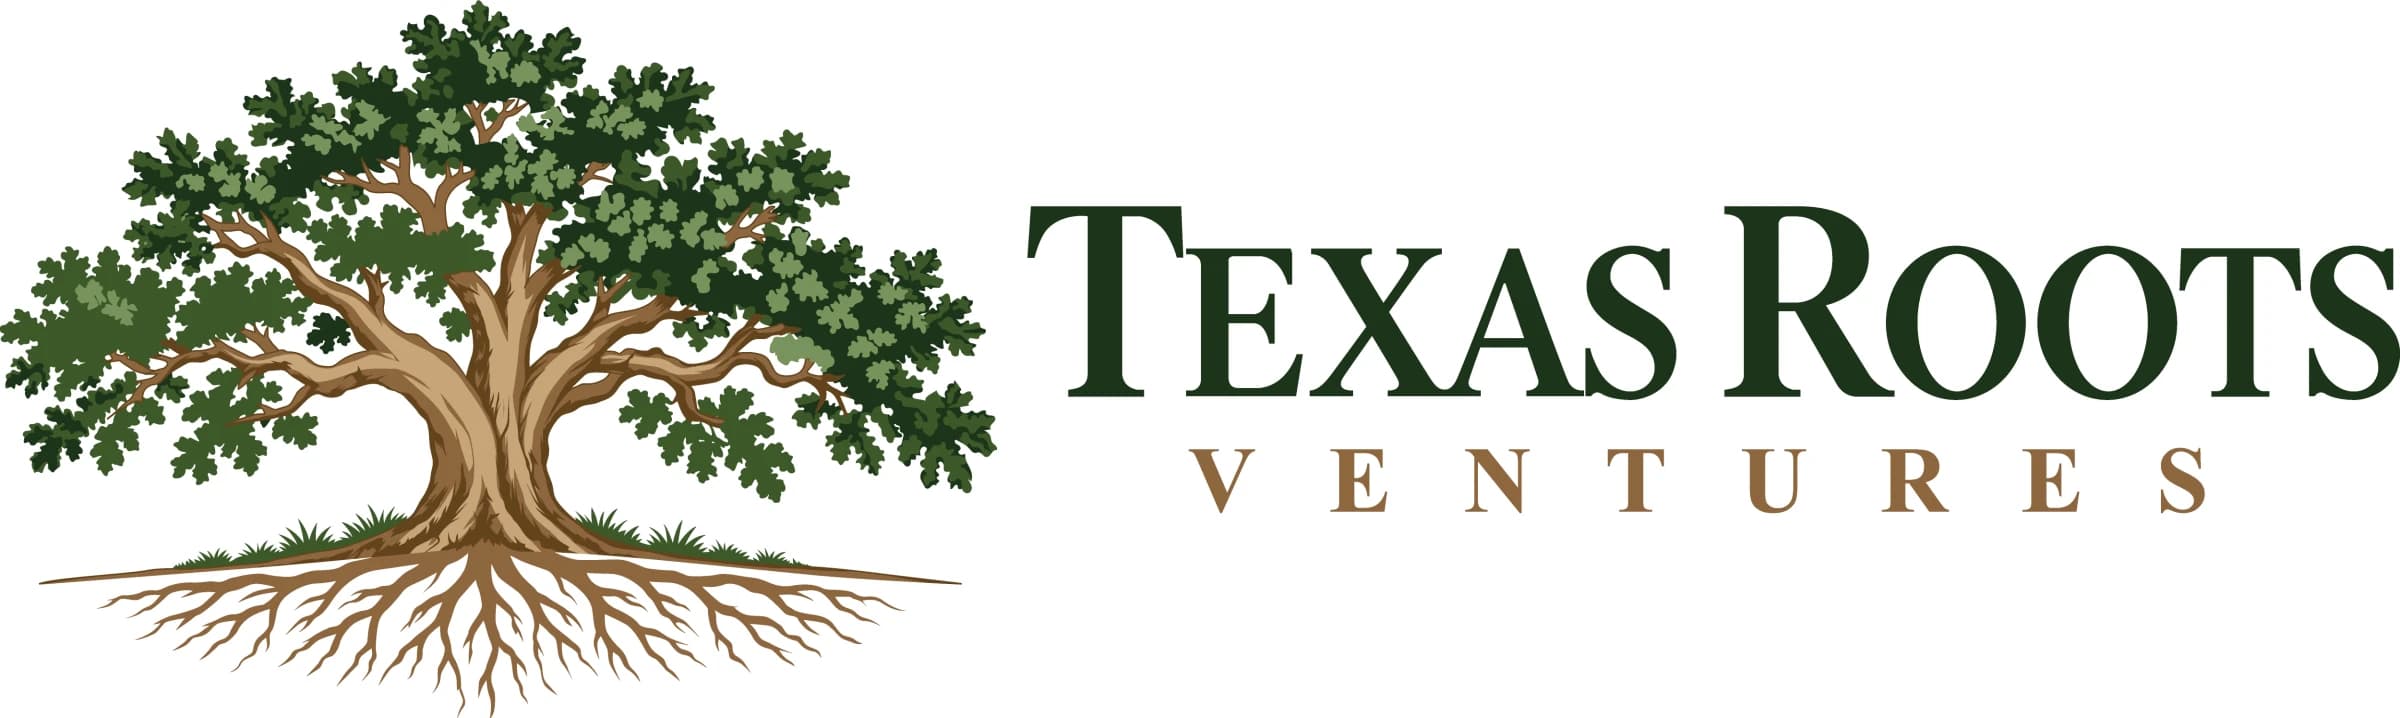
Real project: Texas Roots Ventures
One concept needed different artwork for print and embroidery
Texas Roots began as one detailed concept intended for business cards, banners, posters, shirts, caps, and embroidered polos. Rebuilding it as a vector solved scalability, but it did not make every tiny leaf, root, line, and word suitable for every machine. The final package therefore included a detailed master, a compact print version, and a deliberately simplified embroidery version.
The production lesson
“Vector” is not the final specification. The same brand may need different levels of detail for a banner, a business card, a printed cap, and embroidery. Each version should preserve the identity while respecting the physical limits of the process.
Choose the final file format
A file extension does not prove production quality. An SVG or PDF can still contain only an embedded bitmap, and a large JPEG can still be too small for the intended print. Inspect what is inside the file.
AI, EPS, SVG, or vector PDF
Logos, lettering, icons, color separations, cut paths, engraving, and scalable graphics.
TIFF or high-quality JPEG
Flattened photographic and painterly artwork when the printer wants a full-resolution raster.
Transparent PNG
Apparel and digital workflows that require transparency. Check dimensions and alpha edges.
Print-ready PDF
Placed artwork, typography, bleed, trim marks, and packaging layouts using the supplier's PDF specification.
Unsure whether an SVG is made from real paths? Use our SVG vector checker before sending it to production.
Final AI artwork preflight checklist
When to bring in a production artist
Get help when the design contains important lettering, small details, complex geometry, brand colors, spot separations, dielines, or machine-cut paths. A clean manual rebuild costs less than a rejected print run, unusable sign file, or logo that changes every time it is reproduced.
Get AI artwork prepared for printFrequently asked questions
Can AI-generated artwork be printed professionally?
Yes. AI-generated artwork can print well when it is prepared for the intended size and production method. The source image still needs to be checked for adequate pixel dimensions, artifacts, color behavior, bleed, typography, and any process-specific requirements from the printer.
What resolution should AI art be for printing?
For close-viewed commercial print, 300 pixels per inch at the final printed size is a common target, but it is not universal. Large-format work may use a lower effective PPI because it is viewed from farther away. Always ask the printer for the required final dimensions and effective PPI.
Does changing an image to 300 DPI improve its quality?
No. Changing the DPI or PPI metadata without adding real pixels does not create detail. Image quality depends on the actual pixel dimensions relative to the final print size. Upscaling can create additional pixels, but the result must still be inspected for invented or softened detail.
Should all AI artwork be converted to vector?
No. Painterly images, photographs, textures, and detailed scenes are normally best kept as high-resolution raster artwork. Logos, lettering, icons, spot-color graphics, cut paths, and engraving artwork are stronger candidates for true vector rebuilding.
Does print-ready artwork always need to be CMYK?
No. Many commercial offset workflows use CMYK, but some photo, inkjet, direct-to-garment, and print-on-demand workflows ask for RGB or a specific ICC profile. Do not convert blindly. Use the color space and profile supplied by the printer.
What is the best file format for AI artwork printing?
The best format depends on the process. High-resolution TIFF, PNG, JPEG, or PDF may be appropriate for raster artwork. AI, EPS, SVG, and vector PDF are common for logos and production graphics. The printer's specification is the final authority.
Related Articles
Continue learning with these related guides